There’s something deeply satisfying about building and upgrading 3D printers from the ground up. It’s more than just assembling parts—it’s about understanding how every component works together, learning through trial and error, and watching a machine you built bring your ideas to life. Over the years, I’ve built and upgraded several printers, and each one has taught me something new about patience, design, and engineering.
Building the Prusa MK3S+
This first build laid the groundwork for everything that came after. The lessons I learned about precision, calibration, and problem-solving became the foundation for every future printer project.
My 3D printing journey really began with the Prusa MK3S+ kit. I could’ve gone with a prebuilt unit, but I wanted to understand how everything worked. The kit version gave me that hands-on experience. I spent a few evenings carefully following the build guide, learning the feel of properly tensioned belts and the difference a millimeter can make when aligning components.
The first time I powered it on, ran through the calibration process, and saw that perfect first layer, it was a moment of pride. Every screw, every zip tie—I had placed them all myself. The MK3S+ quickly became my workhorse, producing reliable prints for months. I tinkered here and there, experimenting with build plates, learning what looked good for each material type, and learning what “live Z adjust” really meant in practice.
Building the MMU3
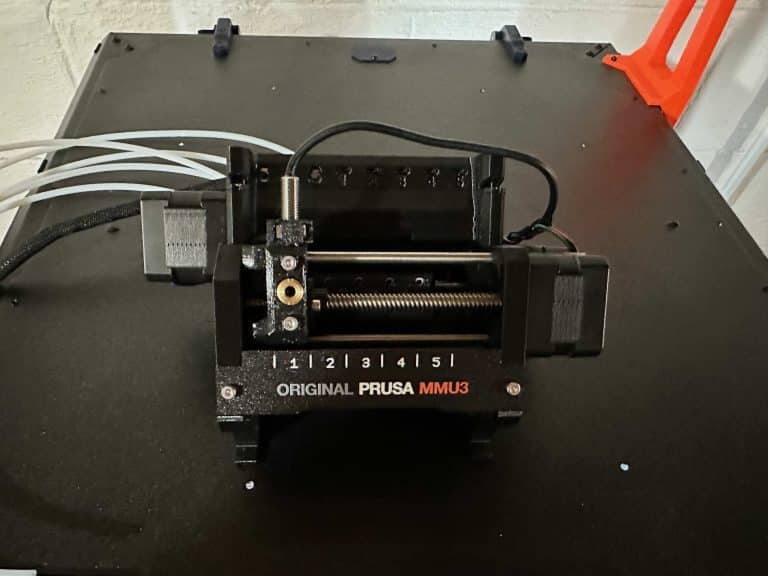
When I first heard about the MMU3 (Multi Material Unit) and how it improved on the MMU2, I knew I had to try it out. The idea of automated filament swaps sounded almost too good to be true—printing multicolor parts without having to babysit the printer was a game changer. The MMU3 let me bring colored prints to life, layering depth and personality into what would’ve otherwise been simple single‑color parts.
Building and installing the MMU3 was a project of its own. It felt like adding a small robot on top of another robot. The precision required for calibration and the attention to detail reminded me of why I love this hobby in the first place. Once tuned, it opened up new creative possibilities. I could batch print multiple parts in different colors or run multi‑material projects in a single job, saving both time and filament swaps.
It wasn’t plug‑and‑play by any means—there were plenty of test prints, adjustments, and moments of frustration—but the payoff was absolutely worth it. The first time I watched it automatically switch filaments mid‑print, it felt like magic.

My favorite project using the MMU3 was a Christmas gift for my mom a couple of years ago. She despises stick‑on tags for presents, choosing instead to identify gifts by their wrapping paper. As you might imagine, this led to confusion more than once, with my brother and me accidentally opening each other’s gifts—followed quickly by an “Oh crap! You need to switch!” Plenty of laughs and fond memories followed.
To solve the issue, I designed and printed a set of custom gift tags. The idea was similar to the tags people use on glasses at parties—each one unique so no one gets mixed up. Each design includes six tags, and there are eight designs total (gotta allow for some family expansion). I even printed a box with individual slots to keep them organized, complete with a magnetized lid (note to self: next time, use more or stronger magnets). Now my mom has reusable tags that will last for years and, hopefully, prevent future mix‑ups.

Alongside the MMU3, I also added the official Prusa enclosure to my setup. I originally bought it to help with printing ASA and ABS—materials that are far more durable and UV‑resistant than PLA. This was especially useful for my ham radio projects, where parts are often exposed to sunlight and need that extra bit of toughness. The enclosure keeps temperatures consistent, reduces warping, and overall makes printing engineering‑grade materials a much smoother experience.
Upgrading to the Prusa MK4(S)
When Prusa announced the MK4, I knew I wanted to upgrade. The promise of faster speeds, quieter operation, and automatic first-layer calibration was too tempting to ignore. Installing the MK4 upgrade kit was straightforward, and it felt like giving new life to an old friend. One of the things I love most about my Prusa printers is Prusa’s desire to keep printers upgradable. This means when a new unit comes out, your old one isn’t going to simply take up space in the dump, but rather you can usually replace a few components and have a brand new workhorse in your stable.
The speed and quality of the MK4 was a huge improvement over the MK3S+. Faster motors, more refined motion, and of course those buttery smooth layers from the loadcell. I have the MK4S upgrade, which is a new fan for better cooling. I still need to install it but I have been using my MK4 for a project which may soon make its debut in an article of its own.
Building the Voron 2.4
As I was exploring printing items for ham radio with my Mk3S+ / MK4, I was thinking about trying to batch print jobs. Seeing the Voron 2.4 in some YouTube videos, the prints it was capable of, I thought it would fit my use case perfectly. This printer isn’t just a tool—it’s a project in itself. I chose an LDO Motors kit because it included everything I needed (except for the printed parts). Having a complete kit made the process less stressful, but still challenging enough to be rewarding.
What stood out was how customizable the Voron ecosystem is. I added a Nitehawk tool board for easier wiring, a Nevermore Stealthmax filter for better air quality, and made a few tweaks to cable management. I also installed the Clicky-Clack door mod and a bed fans mod, which helps blow air across the bottom of the bed to heat the chamber more evenly. Heating the chamber this way made it easier to print advanced materials like ASA and ABS without warping. Each upgrade felt purposeful. Building the Voron gave me a deep appreciation for open-source engineering—it’s community-driven, collaborative, and refined by thousands of makers.
I’ll be honest: the build wasn’t fast. It took weeks of careful work and double-checking wiring. But when it powered on and the first print completed, I felt a sense of accomplishment unlike any other. It wasn’t just a printer—it was something I’d built, configured, and fine-tuned from the ground up. Videos by Steve Builds and Canuck Creator on YouTube helped a ton for the parts I was less sure of.
Building the Voron 0.2
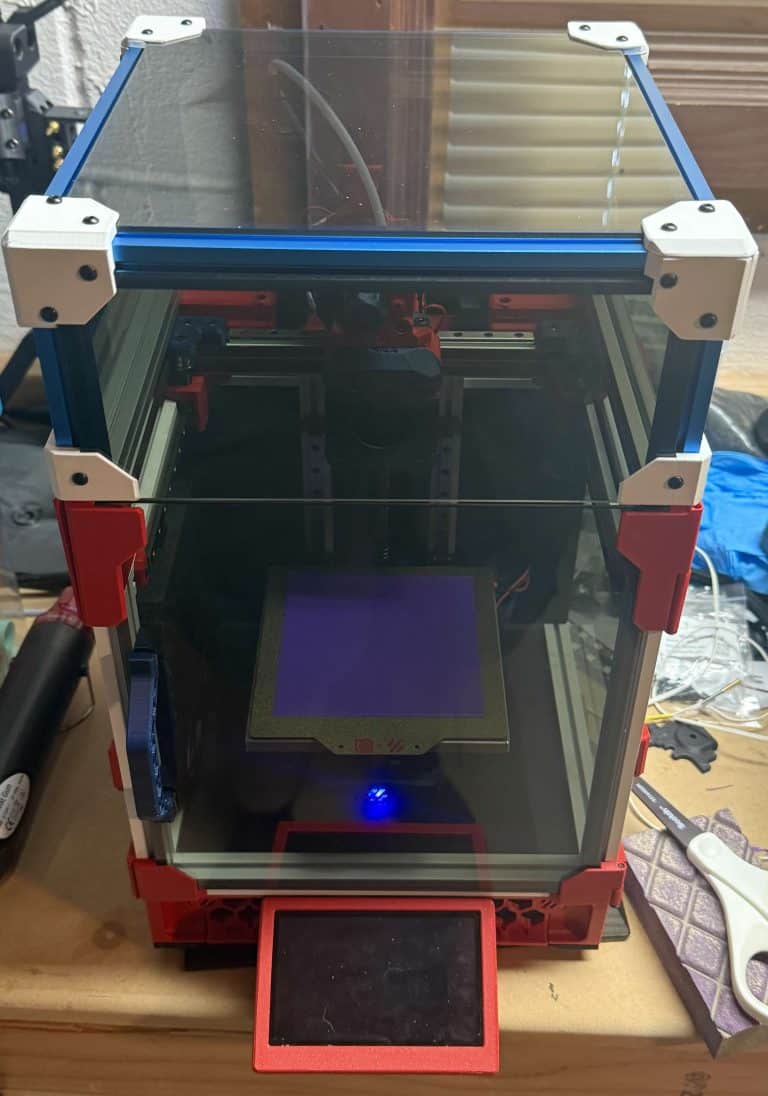
After finishing the 2.4, I wanted something smaller and faster to prototype with, and the Voron 0.2 fit that niche perfectly. My build began with a couple of WITFB purchases—spare parts or incomplete returns from retailers. From those, I scored the frame, some accessories, and even a printed, spiral‑bound build manual. That manual ended up being one of the most underrated parts of the build—it made it effortless to pick up where I left off after long nights of wiring and assembly.
Rather than buying a complete kit this time, I decided to self‑source the remaining components. It became a bit of a scavenger hunt, but the vendors in the 3D printing community—West3D, Fabreeko, and KB-3D made the process painless. Anytime I had a question about compatibility or sourcing, I could open a quick ticket or chat and get guidance right away. Of course, I still ordered a few odds and ends from Amazon, but I tried to keep most of my purchases within the community.
By the time all the parts arrived, I’d already learned which components were worth paying extra for and which ones could be substituted or upgraded later. The actual build came together smoothly. Compared to the 2.4, the 0.2 felt like assembling a compact powerhouse—precise, quick, and surprisingly capable for its size.
Now that it’s built, I’m in the tuning phase—dialing in temperatures, accelerations, and flow rates. My goal is to use it for small project parts and experimental designs. It’s the perfect desk companion for someone who’s constantly prototyping new ideas.

Printed Parts and Customization
Bonus points for lots of designs and upgrades for printers being available on Printables. I heavily leveraged this for the V0.2. From the skirts to FizzyTech’s modular mounting solution, to the fully printed corners for the top hat. Each custom design someone else shared allowed me to customize my build even more and make it my own. I even remixed a couple designs from other makers and publish my own versions there, which has been a great way to contribute back to the community. One of these designs are the arms I remixed for the Repkord Repbox so that it could be mounted above the Orignal Prusa Enclosure. This allows using the Repbox to store rolls of filament to feed into the MMU3 without needing more tablespace for all of the spool holders. Sharing my “Makes” of each design also earned me Prusameters, which I can use on Prusa Vouchers or Filament later.
The Prusa CoreOne Experience
After spending so much time in the Prusa ecosystem, I wanted to try something different. I’d been struggling to print ASA and ABS reliably on my MK4—even inside the Prusa enclosure—because my basement workspace stayed too cold. Seeing the fully enclosed design of the CoreOne, which kept heat much better in a smaller space, made it clear this would be a great step forward for my printing journey. I ordered the MK4S-to-CoreOne upgrade kit. Now, I mostly use the MK4 for PLA since it’s less temperature sensitive, but it’s also nice knowing I can quickly press it back into service whenever I need to print batches of ASA or ABS parts.
Since the CoreOne is all inclosed, it was pretty obvious that I would have the frame left over. I still have a box full of all my old MK3S+ parts. My first thought was to rebuild the MK3S+, but the first layers that came off the MK4 were just too appealing. After reviewing the build manual for the CoreOne upgrade kit, I realized I’d be left with most of the parts needed to build rebuild a printer. If I was ok with the MK3S+ motors, I could get all the major electronics by getting the MK3.9 kit. When I started comparing costs, I found that the price difference between the MK3.9 and MK4 kits was only about $100. That sealed it—I bought the full MK4S upgrade kit and used parts from it as needed. Of course I also needed a new PSU, Y and Z Rods, and a heated bed, but at this point, I was committed.
Looking back, I’d recommend just getting a CoreOne kit or an assembled unit. You’ll save time and avoid the part-swapping headache. That said, the CoreOne build was an incredible experience. It was a very smooth process and the parts fit together nicely. I have used it to print quite a few parts already, it is faster than the MK4 and roughly about the same noise level. Overall, I am very happy with the printer and look forward to seeing what Prusa has coming next.
Tools That Made a Difference
Over the course of these builds, I also discovered that the right tools make a huge difference. Coming from an IT background, I leaned on my trusty iFixIt ProTech toolkit, which was far better than the small Allen wrenches included with most printer kits. The precision drivers and flexible bits made every step smoother and more comfortable.
While building my Voron 0.2, I developed a new appreciation for long-handled hex drivers. The extra reach and better grip helped me avoid stripping screw heads more than once—and even saved a few that I thought were already ruined when I’d tried using a ball-end key. I picked mine up on Amazon, but there are plenty of similar sets out there that are worth the investment if you’re doing any kind of regular printer maintenance or assembly.
Reflections and Takeaways
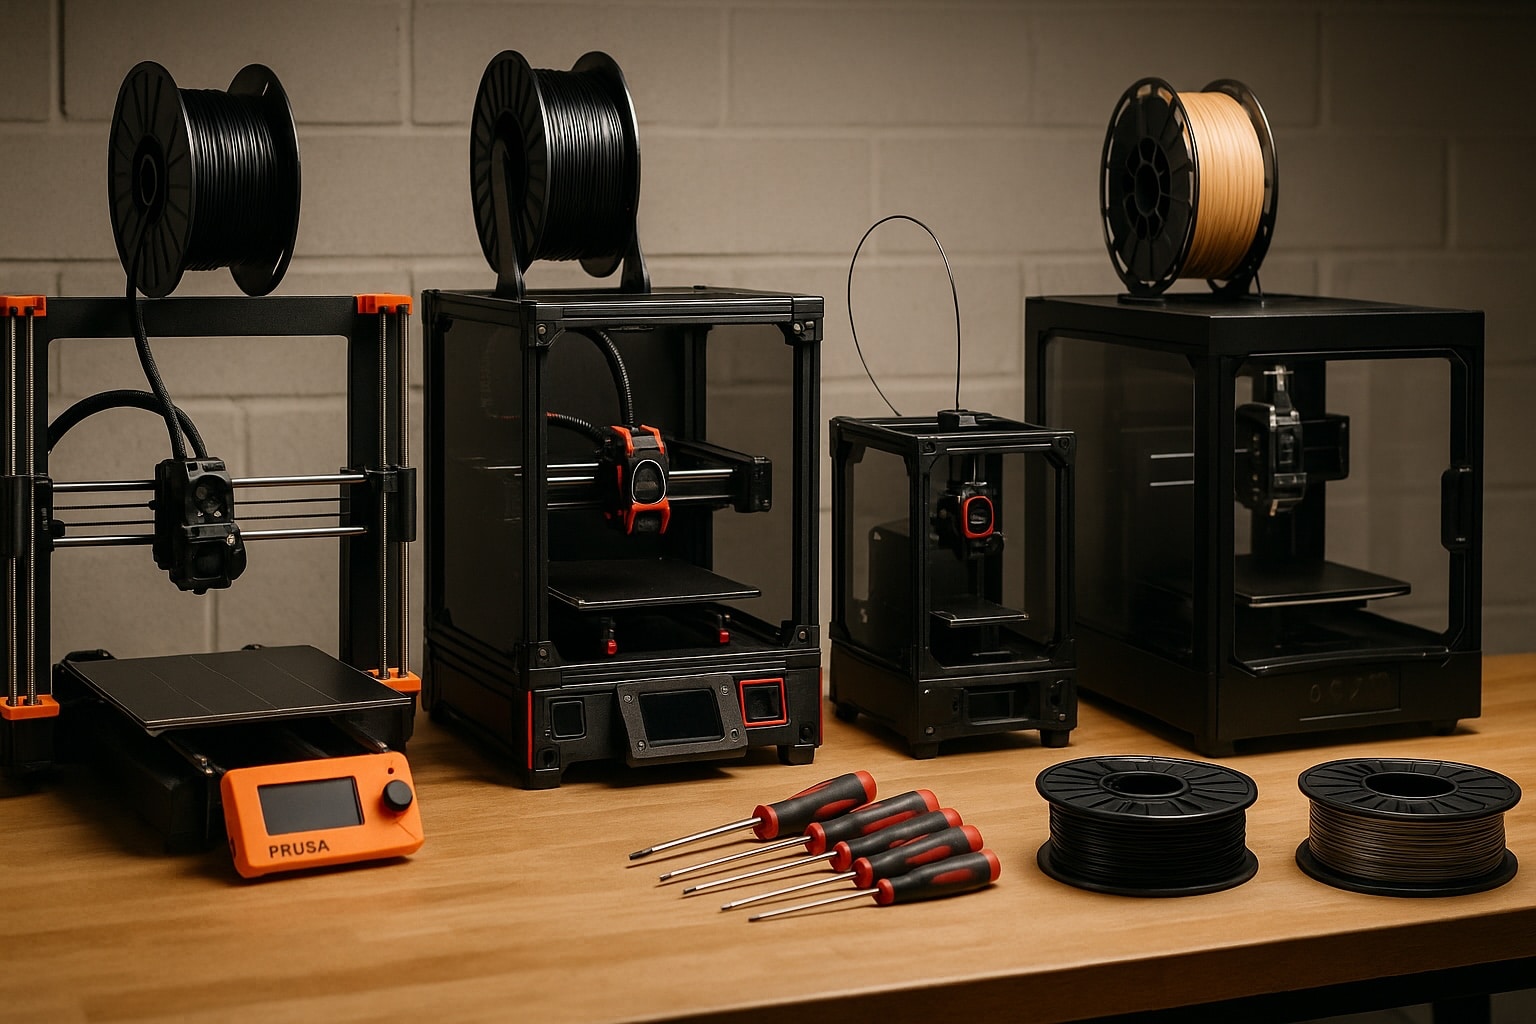
Each printer I’ve built has taught me something unique. The Prusas taught me consistency and reliability, with the CoreOne as another step along this path. The Vorons taught me the value of community, documentation, and modular design.
If there’s one piece of advice I’d give anyone considering a build—it’s this: do it. You’ll learn more by assembling a printer yourself than by buying a prebuilt one. You’ll understand what each part does, how to fix it when something goes wrong, and you’ll develop an intuition for how to improve it.
These builds also shaped how I approach problem-solving in general. Like Mark Watney said in The Martian, you solve one problem, then the next, and pretty soon you’ve solved the whole thing. Building printers works the same way—it’s just a series of smaller problems stacked together. I also gain a huge amount of satisfaction from completing printing projects on a printer I built.
Wrapping Up My Journey Building and Upgrading 3D Printers
Building 3D printers has been one of the most rewarding parts of my maker journey. It taught me patience, precision, and how to troubleshoot like an engineer. Whether you’re just getting into 3D printing or looking to level up, I can’t recommend it enough—build at least one printer yourself.
Start simple. Learn. Tinker. And when it all finally comes together, you’ll realize the best part isn’t the printer—it’s everything you learned along the way.
If you want to see my thoughts about picking your first printer, check out my post here.


