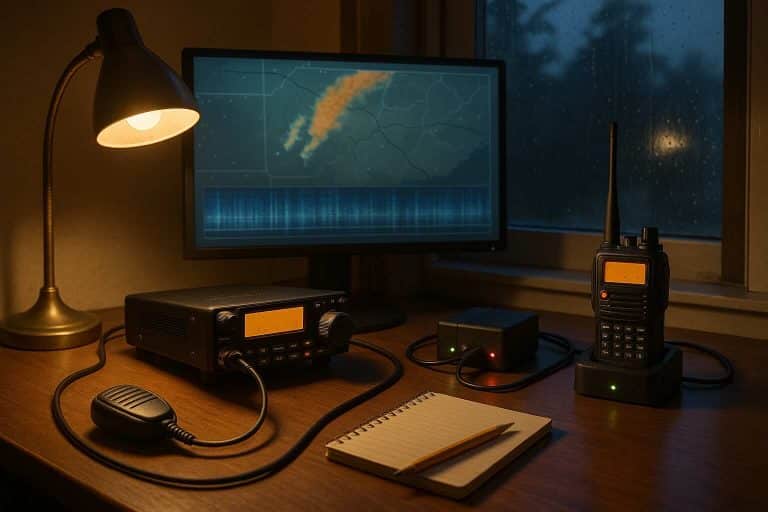
If you’re looking for a practical POTA gear list that actually works in the field, you’ve come to the right place. After many park activations, I’ve learned that success isn’t about having the most gear – it’s about having the right gear that works well together. My approach has evolved from carrying everything I thought I might need to a streamlined portable radio packing system that fits in a medium-sized backpack and never lets me down.
If you’re new to Parks on the Air, you might want to start with my beginner’s guide to POTA to understand the basics before diving into gear selection.
Before we dive into specific gear details, make sure you have your amateur radio license – it’s required for all POTA operations and the foundation of everything we’ll discuss.
My POTA Gear List: Radio Setup and Custom Solutions
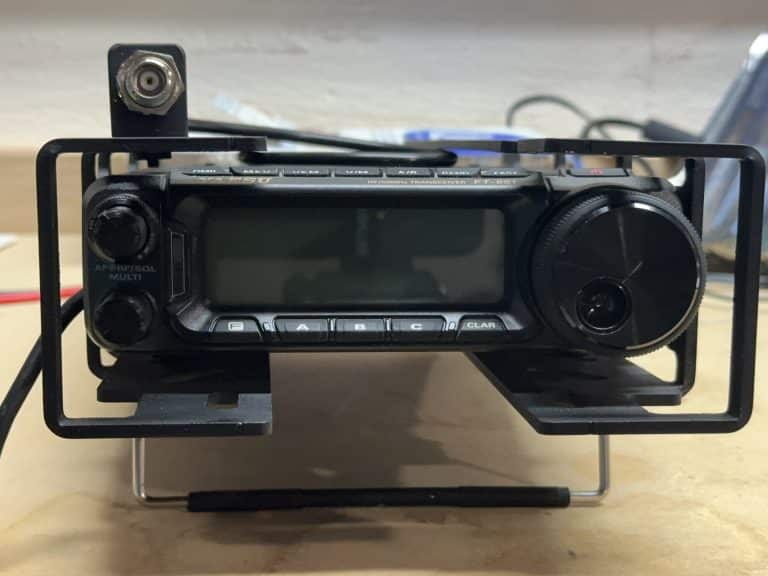
My main radio is the Yaesu FT-891. I also own an Icom IC-7300, but it stays home because it’s too big for hiking. The FT-891 is the right size for portable work and can put out 100 watts when needed.
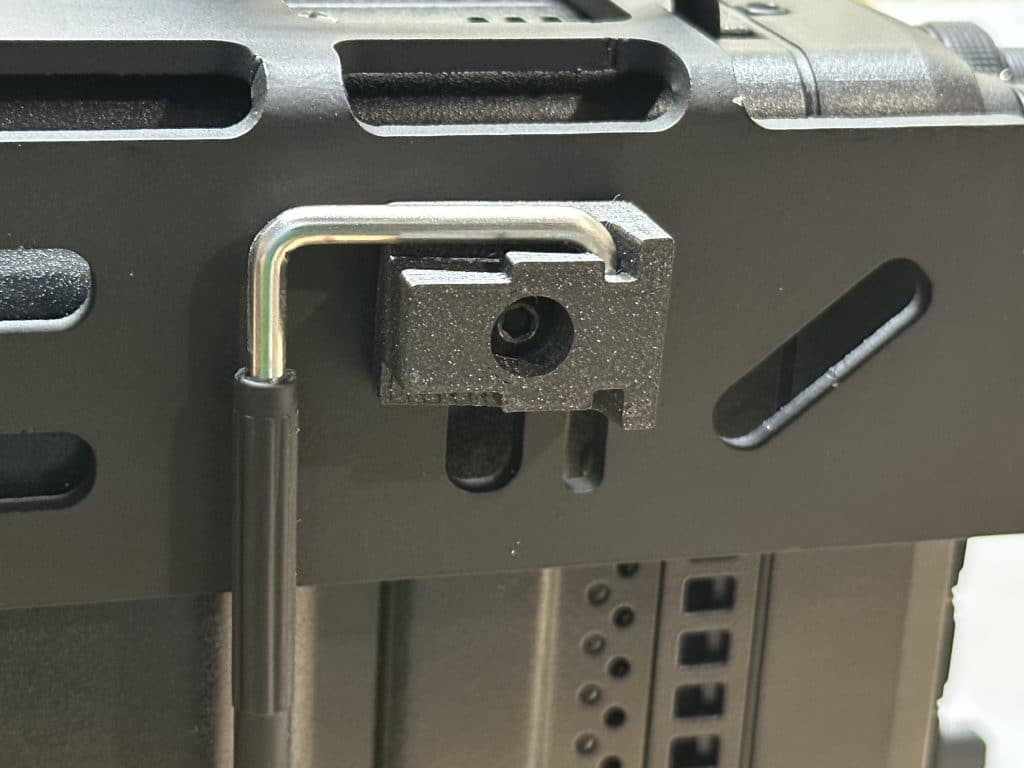
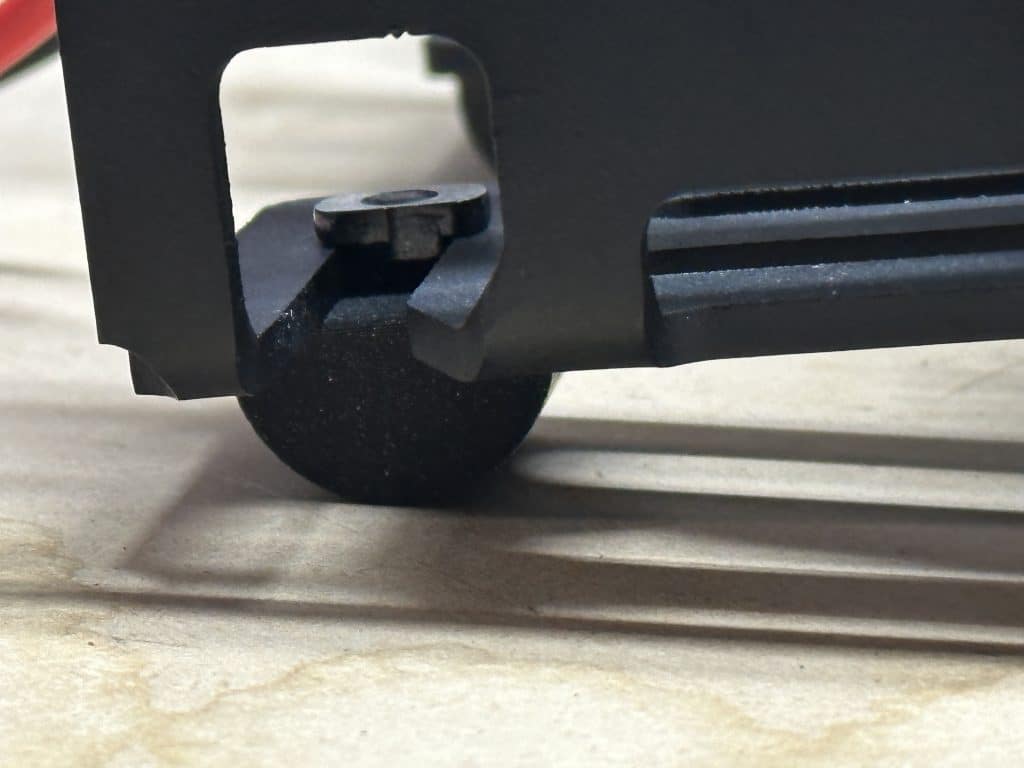
What makes my setup special is the protective rail system from Armoloq. These aluminum rails protect the radio from drops and bumps, but they also give me a platform to attach custom accessories. The rails created one problem though – they blocked the radio’s built-in kickstand. This little stand props up the radio so you can see the screen better, which is really important when operating outdoors.
Instead of giving up on the kickstand, I measured the original feet and designed my own replacements using 3D printing. The back feet are rounded so the radio rotates smoothly when the kickstand is down. This is a perfect example of “Make Your Own Gear” (MYOG) – taking a problem and creating a solution that works exactly how you need it.
For power output, I usually run 50 to 75 watts. This follows good amateur radio practice of using only the power you need. This amount is usually enough to make 20 to 30 contacts in about an hour. I only turn up to full power when I’m trying to break through big groups of stations calling the same park during park-to-park contacts.
Digital Modes Made Simple
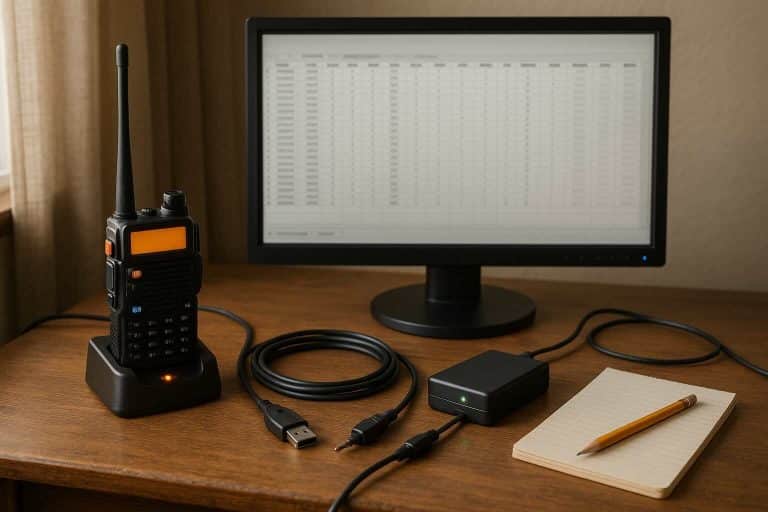
One of my favorite custom projects is the mount I made for my digital interface. The Digirig DR-891 lets me operate digital modes like FT8 and FT4, which are great for POTA work. Instead of having loose cables and a separate box to manage, I created a mount that attaches the interface directly to the radio.
The mount replaces four screws in the Digirig and uses the slot system in the protective rails. This keeps the interface out of the way but ready to use when I want to try digital modes. This is another MYOG win – instead of buying an expensive commercial solution, I made exactly what I needed with some basic design work and 3D printing.
Antenna Systems: Portable Setup Strategies
My antenna approach focuses on one key idea: use antennas that naturally work on the frequencies I want. This eliminates the need for antenna tuners, SWR meters, and other complicated gear.
My main antenna is an end-fed half-wave (EFHW) from Packtenna. I raise it using a Sotabeams Tactical 7000 telescoping mast extended to full height. The setup is straightforward: raise the feed point with the mast, then run the wire down to a stake in the ground.
For anchoring, I love the orange screw-in ground anchors. While I can’t prove it scientifically, they feel much more secure than regular tent stakes. They bite into the ground better and don’t pull out as easily.
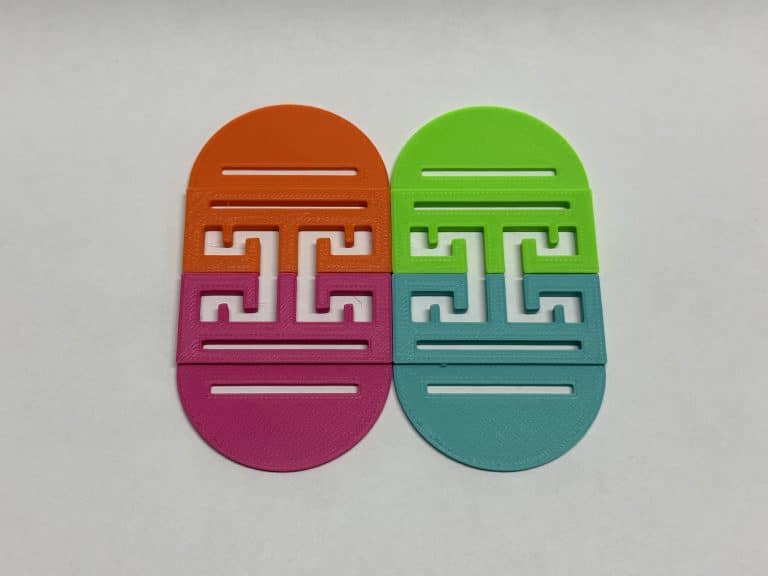
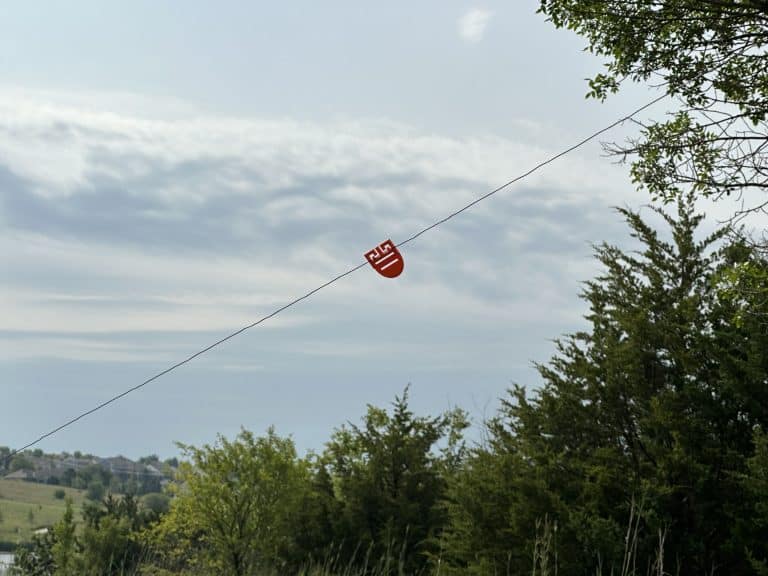
One safety feature I’m proud of is my custom wire flags. The EFHW uses very thin wire that’s almost invisible to people walking by. I designed flags with a fin shape and little fingers that the wire threads through. This keeps the flags from sliding down the wire while making the antenna very visible to park visitors. I showed these at our local Field Day event and other operators loved the idea.
I also carry a backup dipole antenna, though I rarely use it since it only works on two bands (20 and 40 meters). Having backup options is always good, especially when they don’t add much weight.
These wire flags are another example of MYOG solving a real problem. At my first Field Day, I watched another club member tie caution tape around his EFHW to make it visible. Within 30 minutes, all the tape had slid down to the bottom of the wire, doing no one any good. My flags solve this exact problem with their finger design that prevents sliding.
Power Solutions: Battery Systems That Work
For power, I use Bioenno lithium batteries, usually either 10 or 12 amp-hour capacity. Bioenno has a great reputation among amateur radio operators, which made them an easy choice when I started.
One small but important MYOG project I created is a protection kit for the Bioenno’s charging port. The battery has a barrel jack that can collect dirt, moisture, or debris when you’re operating outdoors. My solution uses a 3D printed plug with a small loop, connected to micro cord (like paracord but much thinner). I also printed a small clip that goes around the battery’s charge cord and holds everything in place with heat shrink tubing.
This simple kit does two important things: it keeps dirt out of the charging port, and it makes sure I never lose the protective plug. It’s a tiny detail, but protecting that charging port means my battery will last longer and charge reliably when I get home.
I don’t bring solar panels or backup batteries because I don’t operate long enough to drain one battery. This might seem risky, but it’s based on knowing my actual operating habits rather than imagining worst-case scenarios. I also don’t worry about monitoring power use during activations for the same reason.
I do have a future project brewing: building a larger battery pack using a Power Queen battery in a Harbor Freight Apache case. But that’s a project for later, and my current setup works perfectly for my needs.
POTA Packing List: Logging and Digital Setup
For keeping track of contacts, I use either a laptop running HAMRS software or my iPad, with my phone as backup. The choice between laptop and iPad usually depends on conditions – both work about equally well outdoors.
Pro tip: If you use a laptop for logging, get the travel charger for your laptop and a powerpole to accessory adapter (the cigarette lighter style connector). This lets you charge your laptop directly from your powerpole-equipped battery if you have a distribution block. It’s a great backup for longer activations or multi-day events.
HAMRS is my favorite logging program because it was designed specifically for POTA work. It understands the special requirements of portable operations and works well with POTA’s systems. I always create my log file before heading to the park, using POTA’s naming system (like “US-1234_N0ABC_20250721” for park US-1234, callsign N0ABC, on July 21, 2025). This small bit of preparation saves time in the field and means I don’t have to fumble with setup when I’d rather be making contacts.
Field Comfort: Using Park Resources Wisely
Here’s where my approach might surprise some POTA operators: I don’t bring a chair. The parks I visit have benches, so why carry extra weight? This thinking extends to other comfort items – I typically just bring water and a hat.
Operating in Nebraska has another advantage: our state parks don’t charge entrance fees, so I don’t need to worry about park passes or having the right change. The only paperwork I need is my amateur radio license.
Gear Philosophy: Minimalist Approach to POTA
I don’t carry repair materials, SWR meters, or measurement tools. This might sound risky, but it’s actually the result of careful planning. By using antennas that naturally work well and reliable, tested gear, I’ve eliminated most problems that would need field repairs. If I were planning to operate for extended periods or in remote locations, I might bring some basic repair tools, but for my typical one-hour activations, the extra weight isn’t justified.
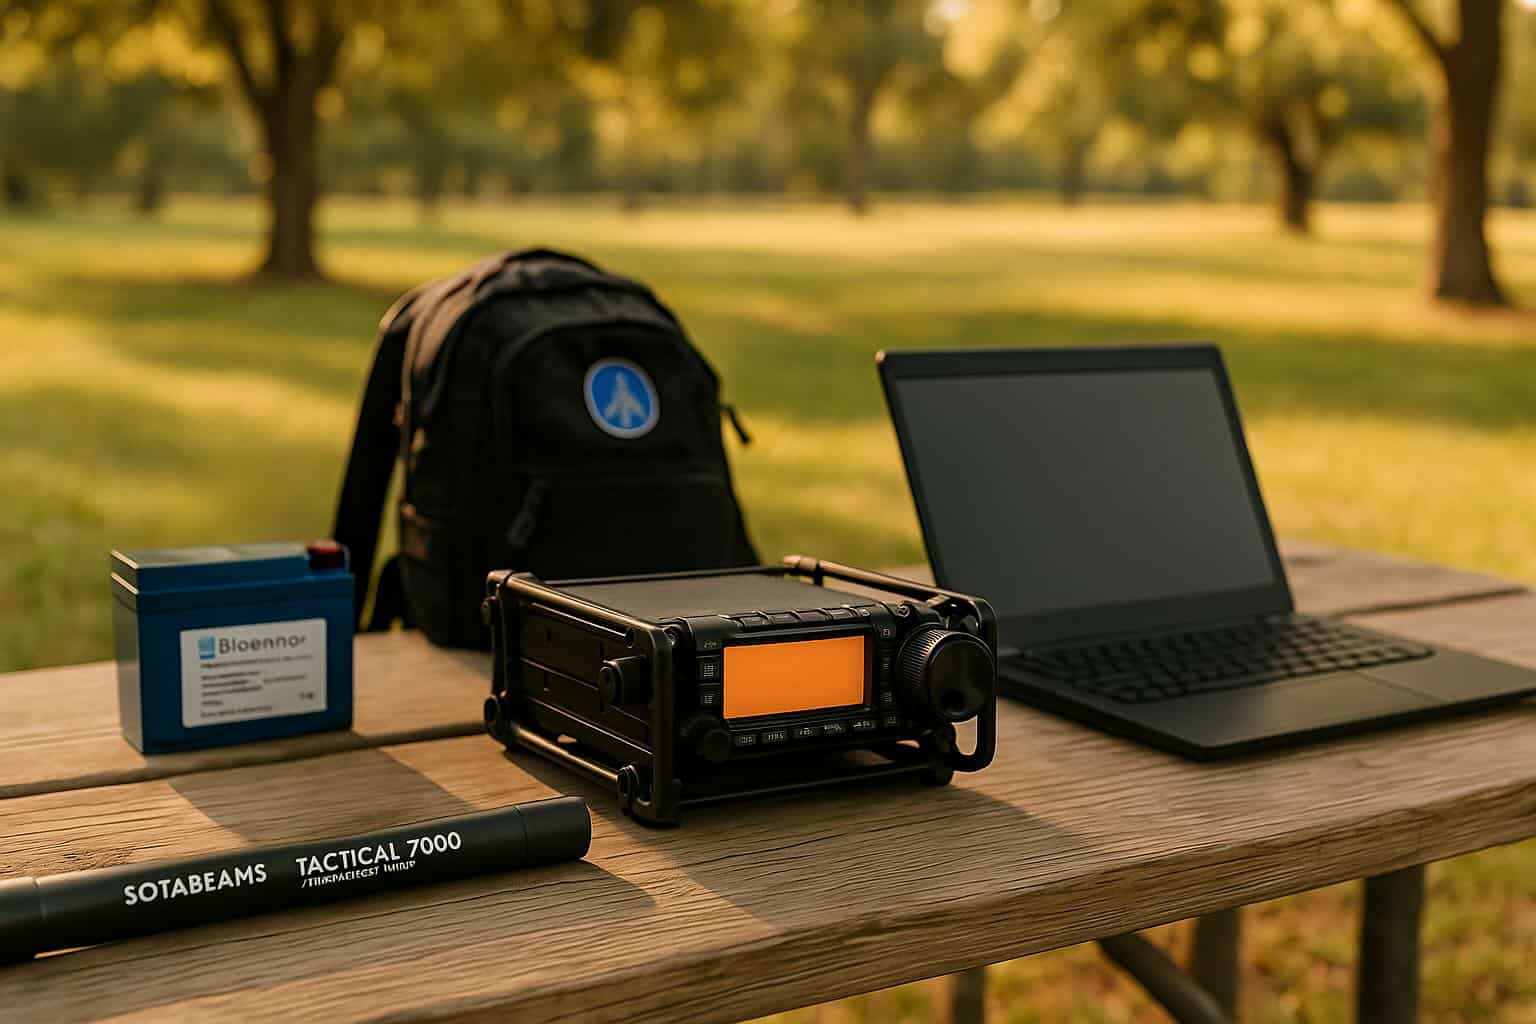
My complete packing list is surprisingly short: radio, battery, antenna, mast, laptop, and coax cable. This essential POTA gear fits easily in my 5.11 Rush 24 backpack with room left over.
Learning Through Experience: From Too Much to Just Right
My portable radio packing approach has completely changed over time. I used to use a large military-style pack that could hold everything I might possibly need. The problem was that it let me bring way too much stuff to every activation – and I did. Most of that gear never got used and just got in the way.
Switching to the smaller backpack was a game-changer. The limited space forced me to think carefully about what I really needed versus what I thought I might need. This constraint made my activations much better because I spend less time managing gear and more time on the radio.
MYOG Solutions That Actually Help
Throughout this journey, I’ve made several custom items, but each one addresses a real, specific problem:
- The kickstand feet solve a problem created by the protective rails
- The wire flags address a real safety concern while making the antenna more visible
- The integrated digital interface mount eliminates setup complexity while keeping everything accessible
- The battery protection kit keeps the charging port clean and prevents losing the protective plug
None of these modifications add complexity just for the sake of it – they all make the system work better in real conditions. This is what good MYOG is about: identifying specific problems and creating targeted solutions.
The great thing about making your own gear is that you can create exactly what you need, not what some manufacturer thinks you might want. 3D printing has made this especially accessible – if you can design it, you can probably make it.
How I Know This Works
The proof is in the results: I haven’t forgotten any critical items for an activation, my setup and breakdown times are fast, and I can focus on operating rather than managing gear. My contact rates are consistent, and I genuinely enjoy my time in the parks.
One key habit that makes this work is never removing components from my POTA kit for other uses. Everything stays packed and ready to go. This means I always have a complete HF “go kit” ready for any opportunity – whether it’s a planned park activation, emergency communications, or just a spontaneous trip to try a new location.
More importantly, I’m not stressed about my gear. Everything works together smoothly, and I know where everything is. This lets me focus on what POTA is really about: making contacts and enjoying the combination of amateur radio and the outdoors.
Advice for New POTA Operators
If you’re just getting started with POTA, resist buying everything at once. Start with basic, reliable gear and add items only when you’ve identified a specific need through experience. Your first activation might seem simple compared to some operators’ elaborate setups, but you’ll learn more about what you actually need by starting with less rather than more.
For complete POTA basics and getting started tips, check out my comprehensive POTA guide which covers everything from finding parks to making your first contacts.
Don’t be afraid to make your own solutions when you identify problems. The amateur radio community has a long tradition of building and modifying gear. Modern tools like 3D printing make it easier than ever to create custom solutions for specific problems.
Focus on making contacts and having fun. The gear should make the experience better, not dominate it. Some of my most memorable conversations happened with the simplest setups, often when something forced me to use just the basics.
Remember, the goal isn’t to show off your gear – it’s to activate the park, serve the stations looking for that park, and enjoy what makes POTA special. The most important thing in your pack isn’t a radio or antenna – it’s the enthusiasm to get on the air and make contacts. Everything else just supports that goal.
Start simple, learn what you actually need, and don’t be afraid to make your own solutions when you find problems that need solving. That’s the spirit of both amateur radio and POTA.
If you’re brand new to ham radio, don’t miss my complete guide to getting your amateur radio license – it breaks everything down with zero fluff and no jargon.
My Complete POTA Packing List
Here’s my complete POTA packing list that has served me well across dozens of activations:
Radio Equipment:
- Yaesu FT-891 in Armoloq rails with custom kickstand feet
- Custom-mounted Digirig DR-891 digital interface
- Bioenno 10-12Ah LiFePO4 battery with custom protection kit
Antenna System:
- Packtenna EFHW (primary)
- Packtenna dipole (backup)
- Sotabeams Tactical 7000 telescoping mast
- Orange screw-in ground anchors
- Custom wire visibility flags
- Appropriate coax cable
Operating Essentials:
- Laptop or iPad running HAMRS
- Phone (backup logging)
- Water and hat for comfort
Carry System:
- 5.11 Rush 24 backpack
This essential POTA gear list represents years of refinement and real-world testing. Each item has earned its place through practical use, and nothing extra makes the cut.

