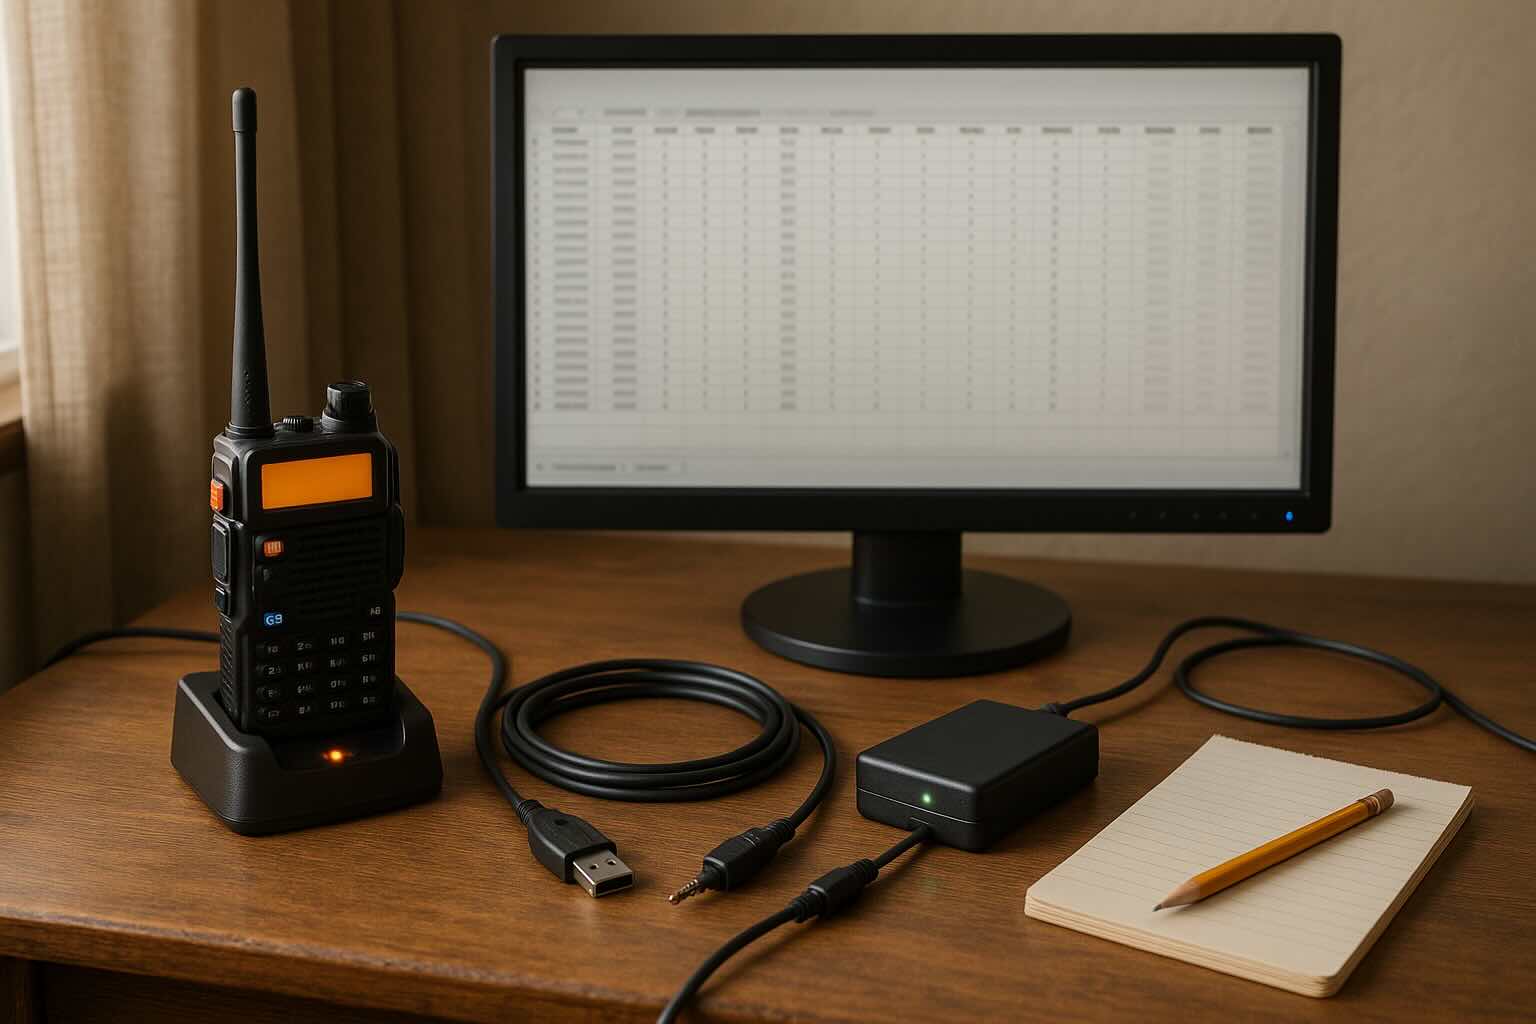
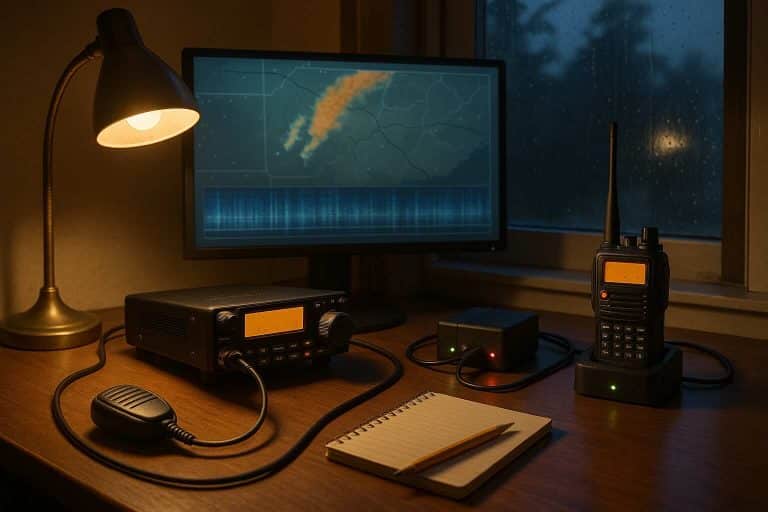
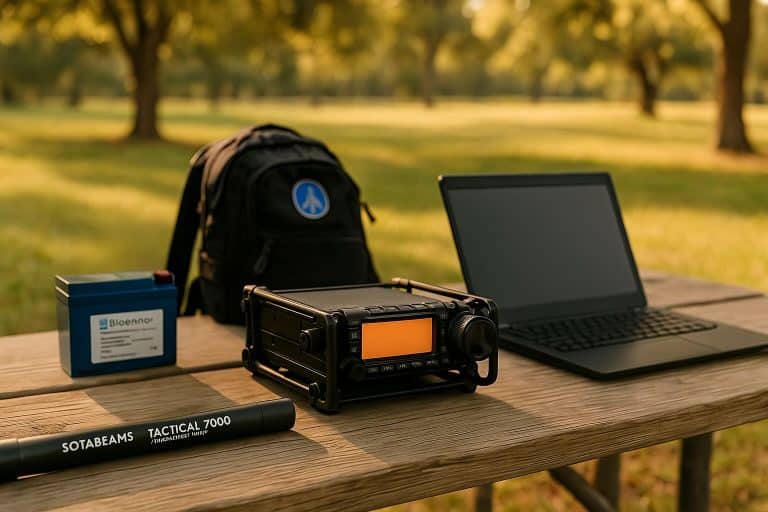
If you’ve ever needed to quickly guide someone to a specific channel on a pre‑programmed radio, you already know why you should program your radio. When the operator is properly licensed—and identifies as required—your setup turns chaos into calm. Programming is how you channel the chaos, turning frequencies, tones, and offsets into simple, named memories you can use under pressure. You don’t want to fumble through menus or try to remember offsets when you’re late for a net, hiking into a park, or dealing with a noisy neighborhood power outage. As they say, “Slow is smooth; smooth is fast.”
I’m going to walk you through how I think about programming ham radios (both hand helds (HTs) and mobiles) and give a quick, honest nod to GMRS. I’ll try to keep this simple and in plain language, tell you what actually helped me, and share a channel plan you can use as your base.If you’re just getting started with ham radio, read my Ultimate Ham Radio License Guide first, then come back here to program your first memories.
Quick scope note: I’m focusing on analog FM for 2m/70cm ham and basic GMRS. Digital modes (DMR/D‑STAR/C4FM) are awesome, but they’re a separate workflow. I include a short DMR codeplug disclaimer later for context.
Why programming your radio matters (a lot)
The first time I organized my memories into plain‑English names like K0ABC, K0DEF, and WX, everything clicked. My radios stopped being gadgets and started being tools. Here’s what programming buys you:
- Ease of use: Power on → turn the knob to the label you understand → talk. No menu mining.
- Shared channel plan: If everyone in your crew has the same plan, it’s trivial to say, “Go to
K0ABC.” - Built‑in brain: Memories store the fiddly stuff (CTCSS/DCS tones, offsets, bandwidth, step size, power). You don’t have to.
- Stress‑proofing: In a hurry, I can tell a licensed family member (ham) or someone covered by our GMRS family license exactly what to select and how to identify, no jargon needed.
If you only remember one thing from this post, remember this: Slow is smooth; smooth is fast.
What “program your radio” really means
Most radios have two basic modes:
- VFO (Variable Frequency Oscillator): You spin to any frequency, set tones/offsets manually. Great for experimenting.
- Memory: Pre‑saved channels with names (alpha tags) and all the right settings. Great for daily life.
A memory channel usually includes:
- Receive frequency (and transmit, if different)
- Tone mode (CTCSS or DCS) + the tone value
- Offset and direction (‑/+) for repeaters
- Bandwidth (wide or narrow FM)
- Power level (low/med/high)
- Scan setting (add/skip)
- A short, readable name (e.g.,
K0ABC,CITY RPT). Most radios limit the alpha‑tag length (often 6–10 characters), so plan abbreviations that still make sense under pressure. For example: 2M calling →2MCALL, weather →WX1. Repeater callsigns also make excellent labels because they fit and are unambiguous.
Many HTs and mobiles also let you group channels into banks or zones—options like HOME, TRAVEL, EMERGENCY, WX, and EVENTS/POTA can help. I don’t personally have enough memories to split into banks on my own radios, but if you do, this organization makes scanning and quick prompts easier.
You’ll hear the word codeplug. That term comes from digital systems like DMR, but the idea applies broadly: it’s your reusable configuration file (your radio’s “loadout”).
Before you touch the cable: plan your channels
I know. Eager brains want to plug the radio in and click buttons. But a tiny bit of planning makes everything simpler.
Gather local info:
- Repeater directories (your favorite site or printed guide)
- Common simplex calling channels
- Local net nights you care about
- NOAA weather channels
Decide your groups:
- HOME/LOCAL
K0ABC– Primary 2m repeater (tone +/‑ offset)K0DEF– Primary 70 cm repeater (tone +/‑ offset)LOCAL SM– 2m simplex calling
TRAVEL: wide‑area machines along your commute or road‑trip route
- EMERGENCY: EOC/ARES repeaters you listen to (follow your local rules), plus NOAA
- WX: your local weather channels
- EVENTS/POTA: a couple simplex channels you use when portable
Name them clearly: short labels you can understand while half‑awake. Think HOME 1, WX 1, CITY RPT, POTA CL. Most radios only show a handful of characters, so shorten where needed (e.g., 2M calling freq → 2MCALL). I also like using the repeater’s callsign as the memory name. In the U.S., ham callsigns are no more than six characters, which fits nicely on most radios.
Legal/etiquette notes:
- Ham: you need a license to transmit (listening is fine). Identify with your call sign at the end of a QSO and at least every 10 minutes during it. New to ham? Start with my Ultimate Ham Radio License Guide.
- GMRS: family license model; transmit only on GMRS type‑accepted radios. Identify with the GMRS call sign at the end of a transmission/series and at least every 15 minutes during longer conversations.
- Privacy codes aren’t privacy: CTCSS/DCS just keeps your squelch from opening on other users.
Tools that make programming simple
You can program by hand on the radio (and I’ll explain when that’s useful), but software makes life easier, especially if you have more than one radio.
CHIRP (open source)
- Free, cross‑platform, and supports a huge range of radios.
- Fantastic for cloning, bulk edits, and CSV import/export.
- RepeaterBook lookup/import: CHIRP can query nearby repeaters (by city/ZIP/coordinates) and import them straight into your memory list. Always verify tones/offsets after import since directories can be stale.
- Tip: Always read from the radio first, then edit, then write back. Pick the exact model.
RT Systems (commercial)
- Polished, radio‑specific software and matching cables.
- Excellent documentation and brand‑specific feature coverage.
- If you manage a family fleet or want a super clean UI, this is a strong option.
Manufacturer CPS (Computer Programming Software)
- Yaesu/Icom/Kenwood/Anytone, etc. Best coverage for that brand’s unique features.
- Sometimes Windows‑only; versions can be finicky.
Manual on‑radio programming
- Worth learning for that one channel you need to input in the field.
- Slow and easy to typo. Great for one or two memories, not two hundred.
Other items you’ll want:
- A solid programming cable (FTDI‑based is usually less painful than random clones; DIY is possible too. Just match your radio’s pinout and use a known‑good USB‑to‑TTL interface, ideally FTDI)
- The right driver (Prolific/FTDI) and your COM port number
- A USB‑C adapter if your laptop lacks USB‑A
- A microSD card if your radio supports backup/restore via SD
- Spare battery for HTs, or fused 12V power / bench supply for mobiles
- A label maker (tiny “HOME/EMERGENCY/WX” stickers save stress later)
- A simple shared doc where you keep your current codeplug version and notes
A simple decision guide (pick your path)
- One radio, one‑time setup? CHIRP or manual is fine.
- Multiple radios or a family fleet? CHIRP or RT Systems. You’ll love cloning and CSVs.
- Brand‑specific features you actually use? Try the manufacturer CPS or RT Systems.
- On Mac/Linux? CHIRP shines for cross‑platform.
Step‑by‑step: build a channel plan that “just works”
- Sketch your groups: HOME, TRAVEL, EMERGENCY, WX, EVENTS.
- Collect the frequencies: Daily repeaters, a few simplex channels, NOAA, plus anything trip‑specific.
- Define the fields for each channel:
- Name, RX/TX frequency, tone mode and value, offset/direction, power level, bandwidth, scan add/skip.
- Build in software:
- Plug in the cable.
- Read from the radio and save a backup.
- Enter your channels (or import a CSV template).
- Write to the radio.
- Test:
- Hit a local repeater to verify tones/offset.
- Try simplex with a buddy radio.
- Check NOAA reception on WX.
- Teach your people:
- Ham: only licensed operators should transmit. Identify with your call sign at the end of a conversation and at least every 10 minutes during it.
- GMRS: immediate family members may operate under your GMRS license. Identify with the GMRS call sign at the end of a transmission/series and at least every 15 minutes during longer conversations.
- Practice the sequence: MR → select label → ID → PTT to talk.
- Back it up:
- Save the file with a date and a version number (e.g.,
HomeFleet_v1.2). - Export a CSV.
- Print a channel list for your go‑bag/glovebox.
- Save the file with a date and a version number (e.g.,
Plain‑English settings you’ll see (and what to do)
CTCSS/DCS : These control squelch. If your repeater lists a PL tone (e.g., 100.0 Hz) or DCS code, set it. If it’s silent simplex with friends, usually no tone.
Repeater offset & direction : On 2m, the standard offset is 600 kHz; on 70 cm, it’s 5 MHz (regions vary). Your repeater listing will say – or + (and the tone). Program exactly that.
Wide/Narrow FM : Many ham repeaters are wide; some areas and GMRS use narrow. If unsure, follow the listing.
Power level : Use the lowest power required to make the contact to save battery and heat. Terrain and obstacles can change what you need. A higher or better antenna (for example, a J-pole or a simple “jungle” wire hoisted in a tree) often helps, so try improving the antenna before increasing watts.
Scan add/skip : Add your high‑value channels; skip the noisy ones. Keep scan lists lean so scanning stays useful.
Busy Channel Lockout / TX Inhibit : Prevents transmitting over someone or on channels you want receive‑only.
HT vs mobile: what changes when you program
- Power: HTs sip battery; mobiles want clean, fused 12 V direct to the battery.
- Banks and scan: Mobiles often have more banks and better scanning controls.
- Buttons: Assign mic/handset keys to hop banks, toggle tone, or jump to WX.
- Install tip: Print the channel list and toss it in the glovebox. Future you will say thanks.
GMRS: a quick, honest section (YMMV)
I spend more time on ham than GMRS, so consider this a practical nudge, not gospel.
- Channels: GMRS uses channels 1–22 (with FRS overlaps). Repeaters generally live on 15–22 with 467 MHz inputs.
- Tones: Families often use CTCSS/DCS (“privacy codes”) to keep squelch quiet. It isn’t encryption.
- Radios: To transmit on GMRS, use GMRS‑type‑accepted radios. (Listening on a scanner/ham radio is generally fine.)
- Programming: Many GMRS handhelds are simple in‑menu. Some support CHIRP/RT Systems.
- Naming: Keep it consistent with your ham plan, e.g.,
FAM 1,FAM 2,FAM RPT.
A short word on DMR codeplugs (disclaimer)
I don’t have hands‑on experience building DMR codeplugs, but here’s what to expect if you go exploring:
- DMR codeplugs bundle channels, zones (banks), contact/talkgroup lists, color codes, time slots, and RX group lists.
- Complexity comes from aligning your radio with a specific network/repeater (e.g., which talkgroups on which time slots). Hotspots add another layer.
- Treat DMR as a separate workflow from analog. Start with a model‑specific guide or a trusted template, then iterate.
Troubleshooting that saves hours
The cable won’t talk to the radio : Check the driver (Prolific/FTDI), confirm the COM port number, and reseat the plug fully. Some HTs need the plug really pushed in.
Software won’t write : Make sure you selected the exact radio model/variant. Read from the radio first, then write. Some radios require a specific power‑on sequence to enter clone/program mode.
Cloning across models is flaky : Export to CSV, then import. Some features simply don’t map one‑to‑one.
It won’t TX on a memory : Look for TX inhibit or a mismatched duplex/offset.
Repeater won’t open : Double‑check the tone value (CTCSS vs DCS) and offset direction. Try a little more power. Sometimes some height helps too.

A copy‑friendly starter channel plan
Use this as inspiration. Adjust to your area and habits.
HOME/LOCAL
K0ABC– Your favorite 2m repeater (tone +/‑ offset)K0DEF– Your favorite 70 cm repeater (tone +/‑ offset)2M CALL– 2m simplex calling
TRAVEL
TRAVEL 1– Wide‑area 2m machine along your commuteTRAVEL 2– Wide‑area 70 cm machine
EMERGENCY
WX 1– Local NOAA stationEMERG 1– Local ARES/EOC repeater (listen first; follow local guidance)
EVENTS/POTA
EVNT CL– Your go‑to simplex channel for portable opsFRIENDS– A private simplex calling channel your crew uses
Pro tip: keep the first 5–10 memories identical across your family’s radios. That way, anyone can follow a one‑liner like, “Go to K0ABC.”
Handy templates (copy/paste)
3×5 cheat card (front/back idea):
- K0ABC: main local repeater
- K0DEF: backup
- 2M CALL: simplex calling
- TRAVEL 1/2: road repeaters
- WX 1: weather
Back of card: “MR → select label → ID with call sign → PTT to talk.”
Maintain, share, improve
- Version your file:
HomeFleet_v1.0,v1.1, etc., and keep a short changelog. - Export a CSV so you can bulk‑edit next time.
- Share with family or club so everyone stays aligned.
- Update for trips: add destination repeaters to the TRAVEL bank, prune stale ones afterward.
Final encouragement
Here’s the goal: when life gets loud, your radio should feel quiet and obvious. A clear label, the right tone, and a shared plan turn confusion into muscle memory. Do the thinking once at your desk so you can be present when it matters.
If you’re starting from zero, begin small. Program five to ten memories that cover your real life: a couple of local repeaters, a simplex calling channel, weather, and one or two travel machines. Print a tiny cheat card. Practice the one‑liner with proper identification: “MR → K0ABC → ID with your call sign → talk.” If you’re using GMRS with family, make sure they’re covered by your GMRS license and know the GMRS call sign to use. That tiny rehearsal removes a mountain of stress later.
Not licensed yet? Grab your call with my Ultimate Ham Radio License Guide, then come back and finish this setup.
Keep your setup healthy over time. Version the file, export a CSV, and jot a line about what changed. When you head out of town, add a travel bank or temporarily swap in destination repeaters. Use only the power required, and try a better antenna before more watts. For GMRS, stick to type‑accepted radios and keep the same naming style so your crew isn’t guessing.
Slow is smooth; smooth is fast. Channel the chaos, on your terms.


