Why Planning Your MYOG Projects is a Game Changer
One of the biggest mistakes new makers fall into is diving straight into cutting without a plan — only to realize halfway through that their project doesn’t fit, doesn’t close right, or feels awkward to use. Taking a little extra time to plan your MYOG (Make Your Own Gear) projects can save you a ton of frustration, wasted materials, and do-overs.
In this guide, I’ll walk you through exactly how to plan your first MYOG sewing projects. You’ll learn how to measure real-world gear, sketch your design, choose the right materials, and set yourself up for a smooth build — even if you’re brand new to MYOG.
(And yes, even though I’m based in the U.S., I like using metric measurements — millimeters and centimeters make designing and transferring dimensions way easier, especially if you also dabble in 3D printing or CAD!)
Let’s get started!
Need ideas for beginner projects to practice your new planning skills? Here are 5 Easy MYOG Projects You Can Sew to get started!
Step 1: Define the Project Goal
Before you even grab your ruler, ask yourself:
- What exactly am I trying to make? (dog leash, gear pouch, antenna storage bag, etc.)
- How will it be used? (daily carry, outdoor field ops, portable deployments)
- What environment will it live in? (rain, abrasion, mud, heavy use?)
Knowing the “what” and “where” will guide every decision from material selection to stitching techniques.
Step 2: Measure the Real Objects
Always measure the actual gear you’re designing for! Lay it out flat and record:
- Length
- Width
- Height/Thickness
- Flexibility (is it rigid or can it compress?)
Use a metric ruler or tape measure — it’s more precise and easier to work with when adding seam allowances later.
Pro Tip: If the real item isn’t available, you can often find measurements online:
- Look for official product dimensions for radios, antennas, tools, and other gear.
- Search for “average dog neck circumference” or “standard dog leash lengths” for pet-related projects.
- Many outdoor brands list product dimensions in manuals or online listings.
If you can’t find anything official, overestimate slightly rather than underestimate — you can always tweak a bag tighter with extra stitching, but you can’t make it bigger after it’s cut!
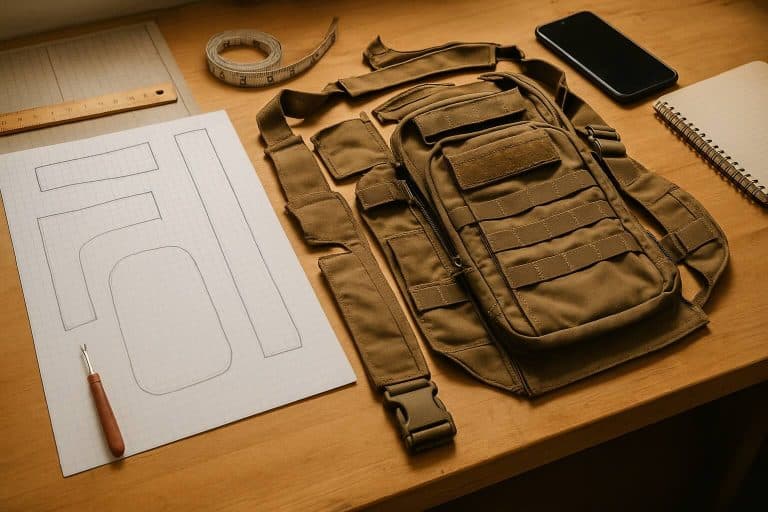
Step 3: Sketch and Visualize
Don’t worry if you’re not an artist — basic rectangles and lines are perfect. (All those 9th grade geometry classes you thought you’d never use? Turns out, drawing rectangles and figuring out seam layouts actually does come in handy!)
- Sketch the project opened flat and in its folded/closed form.
- Label pockets, closures, attachment points.
- Note all major dimensions in millimeters.
- Mark where seams, folds, or reinforcements will be needed.
This gives you a “build map” to work from when cutting and sewing.

Step 4: Choose Materials Wisely
Match materials to your project’s needs:
- Outer layer: Durable, abrasion-resistant fabrics (Cordura, X-Pac, duck canvas)
- Inner lining: Lightweight, flexible fabrics (ripstop nylon, packcloth)
- Closures: Velcro, buckles, snaps, or drawcords depending on use
- Reinforcement: Bonded thread, bar tacks, boxed X stitches at stress points
Choosing materials thoughtfully prevents premature wear or failure.
Step 5: Add Build Margins
Always plan for:
- Seam allowances: Add 10mm (~3/8″) all around your panels.
- Closure room: Extra overlap for hook and loop, snaps, or straps.
- Ease: Add 5-10% additional space for non-rigid items like wire bundles, coiled cables, or packed antennas.
Pro Tip: You can always leave extra fabric outside your seam allowance and trim it back after sewing parts together. It’s much easier to cut away excess than to wish you had more material.
Bonus Pro Tip (Ask me how I know): Always fully unfold and double-check your fabric before you start cutting! It’s incredibly easy to waste good material by accidentally cutting through hidden folds or selvage edges. On the flip side, this is also a good way to get duplicate parts. Just make sure everything is flat and lined up.
Write these adjustments directly on your sketch so you remember when cutting.
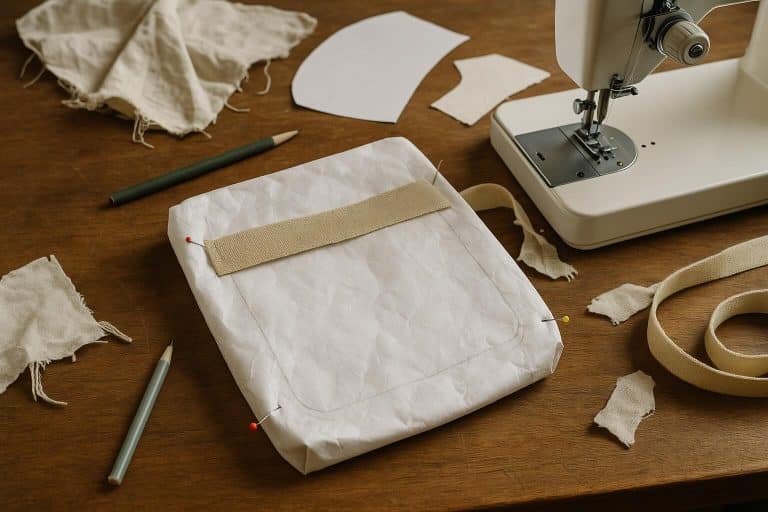
Step 6: Prototype If Needed
If you’re trying something completely new:
- Make a rough prototype using cheap fabric, scrap materials, or even old bedsheets.
- Assemble it quickly to test fit and function.
- Adjust measurements based on real-world feel before cutting expensive materials.
This step is optional for simple projects, but game-changing for complicated builds.
From Sketch to Stitch: Your MYOG Journey Begins Here
Planning might seem like extra work up front, but it’s one of the most powerful ways to level up your MYOG skills quickly. By sketching, measuring carefully, choosing materials smartly, and building in margins, you’ll set yourself up for cleaner builds, fewer headaches, and gear that truly fits your needs.
I’d love to see your planning sketches and finished MYOG projects! Tag @printpresssew and use #MYOGJourney to share your progress.
If you’re brand new to MYOG and need help gathering your first tools and materials, be sure to check out my Gear Maker 101 guide. If you are looking into getting your first machine, check out my guide to Finding the Perfect Beginner Sewing Machine.
Stay tuned for upcoming tutorials where we’ll put this planning into action with real build projects like dog leashes, collars, and field pouches!


