So you’ve been eyeing that ultralight backpack with the perfect pockets, or maybe you’re tired of paying top dollar for gear that almost—but not quite—meets your needs. Welcome to the rabbit hole of MYOG: Make Your Own Gear.
I’ll be real with you—I wasn’t born with a needle in my hand. My first projects looked like they were sewn during an earthquake, and my seam ripper quickly became my most-used tool. But several years (and many, many mistakes) later, I’m making gear that performs better than stuff I could buy, perfectly customized to my needs.
Welcome to Gear Making 101, this complete beginner’s guide is what I wish someone had given me when I started. No fancy jargon, just straight talk about how to begin your MYOG journey without losing your mind.
What Exactly is MYOG (Make Your Own Gear)?
MYOG stands for “Make Your Own Gear,” and it represents a growing movement of outdoor enthusiasts, backpackers, hikers, and everyday DIYers who’ve decided to take gear creation into their own hands. It covers everything from sewing ultralight backpacks and tents to crafting bike bags, dog gear, and even technical clothing.
What I love about MYOG is that it sits at this perfect intersection of practicality and creativity. You’re solving real problems (like gear that doesn’t quite fit your needs) while expressing yourself through design choices and customizations that big manufacturers just can’t offer.
For me, the journey started with wanting custom bags and pouches for my portable radio activities. There simply wasn’t anything on the market that had exactly the right pockets and organization for my specific gear, so I decided to make it myself.
The MYOG community spans from complete beginners mending a tear in their favorite jacket to engineering-minded folks calculating stress points and designing complex suspension systems for ultralight packs that could rival anything on the market.
But here’s a secret: everyone starts somewhere, usually with something small and often imperfect. The journey from your first wobbly seam to a fully functional custom backpack is incredibly rewarding, even if it’s filled with occasional moments of “what was I thinking?!”
Start Small: Master Repairs Before Grand Projects
The best entry point to MYOG isn’t diving headfirst into making a technical tent or backpack. When I started, I nearly threw my machine out the window trying to make a “simple” backpack with no prior experience. Learn from my mistakes.
Start with repairs to existing gear:
- Patch a hole in your hiking pants
- Replace a worn zipper pull
- Add a reinforcement patch to areas showing wear
- Sew on a patch pocket to add storage to an existing bag
These small fixes accomplish several things at once:
- You’ll practice basic stitching without the pressure of creating something from scratch
- You’ll extend the life of gear you already own (eco-friendly win!)
- You’ll build confidence for bigger projects
- You’ll start understanding how commercial gear is constructed
My first actual “make” was a simple pencil case for my wife. Not the most technical project, but it gave me a taste of success and built my confidence. The smile on her face when I presented my slightly imperfect creation was worth all the frustration of learning.
Practice Makes Progress: Get Comfortable With Your Machine
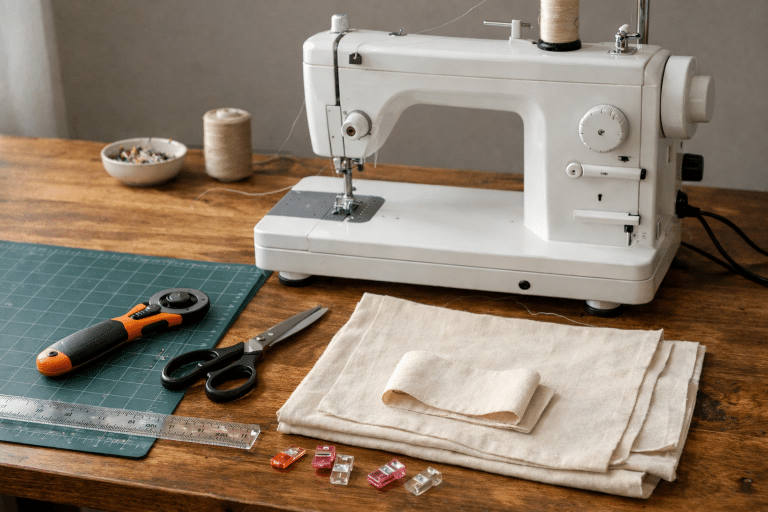
Before cutting into expensive technical fabrics, spend some time getting friendly with your sewing machine. This relationship will be fundamental to your MYOG success.
Grab Some Practice Material
I got lucky when I first started—my local fabric store had a bin of ripstop nylon offcuts they sold by weight. For about $5, I walked out with enough scraps to practice for weeks. Look for:
- Fabric store remnant bins
- End-of-roll discounts
- Online retailers’ sample packs
- Old nylon gear you no longer use
- Discount/thrift store nylon jackets or pants
These materials let you experiment without the anxiety of “wasting” expensive specialty fabrics. I still keep a box of scraps just for testing new techniques or unusual seam constructions.
Master the Basics on Your Machine
Spend an afternoon with your machine manual and some scrap fabric:
- Test different stitch lengths (I usually use 2.5-3mm for most MYOG work)
- Practice controlling your speed (jerky stitching leads to puckers and tears)
- Learn to sew straight lines, then graduate to gentle curves
- Find out what tension settings work best with different fabrics
- Test how your machine handles multiple layers
One exercise that helped me immensely was drawing straight and curved lines on scrap fabric, then practicing following them precisely with my stitching. It’s like learning to color inside the lines, but with thread.
Your machine’s control is everything with technical fabrics. I once rushed through a project and ended up with ripstop that looked like it had been attacked by an angry cat—all because I couldn’t maintain consistent speed and tension.
If you need help picking out a sewing machine, check out my post about finding your first sewing machine!
Kits: Training Wheels for the MYOG Journey
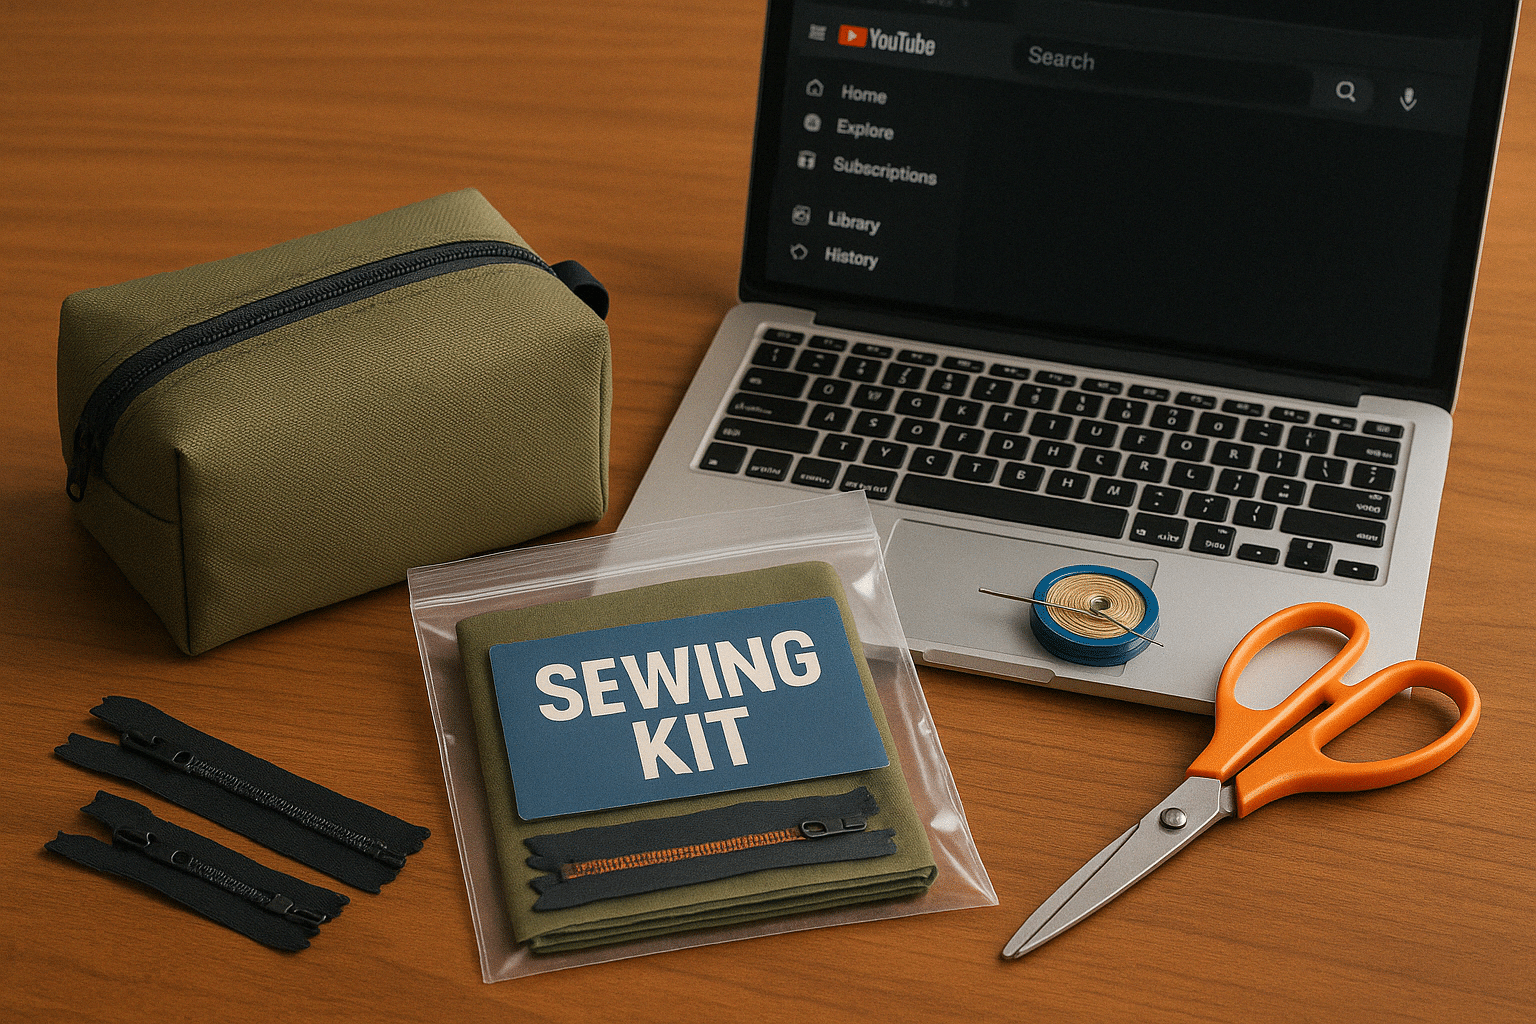
If you’re anything like me, having some structure when learning a new skill helps tremendously. MYOG kits provide exactly that—pre-cut materials, detailed instructions, and often video support to guide you through a complete project.
Ripstop by the Roll (RBTR): A Beginner’s Best Friend
Ripstop by the Roll has become something of a gold standard in the MYOG community, and for good reason. Their kits range from “I just touched a sewing machine for the first time” to “I’m ready to make technical gear for extreme conditions.”
For true beginners, I recommend starting with:
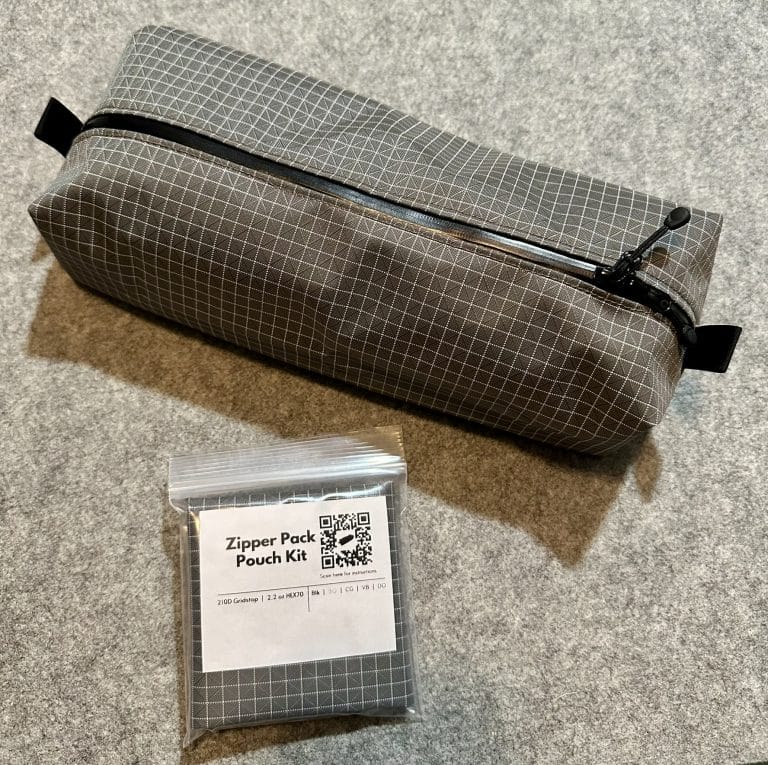
The ZPP Kit (Zippered Pouch Project) This little zippered pouch was my gateway drug to MYOG. It teaches essential skills like:
- Straight and curved seams
- Installing a zipper (a foundational skill for most gear)
- Working with different weights of materials
- Finishing a project cleanly
I made one of these early on, and my dad still uses it as his toiletry bag when traveling. It may not be perfect, but it’s held up for years of regular use—not bad for a beginner project! These kits can be found here.

The Zipper Pouch Kit Slightly more advanced, this kit introduces additional techniques and results in a more substantial organizer. After making mine, my mom immediately claimed it for her own use. Seeing your creations being regularly used by family is incredibly satisfying. These kits can be found here.
$10 DIY Kit: This kit is great for getting some basic supplies and various types of lighter weight fabrics. Perfect for small projects and learning how materials behave. These kits can be found here.
What makes these kits special is that they eliminate many of the variables that can frustrate beginners:
- No measuring and cutting errors
- Materials selected to work well together
- Detailed instructions specifically for that project
- Usually less expensive than buying all materials separately
- Community support from others who’ve made the same kit
Pro Tip: Holiday Sales Are Your Friend
One strategy I’ve learned: watch for holiday sales on these kits, especially around Black Friday and year-end clearance events. I’ve scored kits at 20-30% off during these sales, which allows me to stock up on several projects at once. Having a small inventory of kits ready to go means you always have something to practice with when inspiration strikes.
Pro Tip: Measure Before You Cut
Here’s something I wish someone had told me early on: before you assemble any kit, take detailed measurements of all the pieces! This gives you a pattern you can recreate later for custom projects. I’ve used the basic dimensions and construction techniques from my early kits to create completely custom pouches for my portable radio gear.
LearnMYOG: Patterns for the Pattern-Challenged
Once you’ve mastered a few kits, LearnMYOG offers excellent patterns with detailed instructions. While I haven’t personally used their patterns yet (they’re on my to-do list!), I’ve heard fantastic things about their detailed instructions and beginner-friendly approach.
What makes their patterns stand out:
- They’re designed specifically for home sewers, not industrial equipment
- Instructions assume you’re learning, not already an expert
- They offer a range of difficulties to progress through
- The designs are practical and usable, not just learning exercises
Small Projects, Attainable Goals
After some practice and maybe a kit or two, you’ll be itching to create something on your own. The key is to choose projects that stretch your skills without snapping your patience.
Pencil Bag/Organizer
A basic zippered pouch with maybe a divider or two inside is perfect for:
- Practicing straight seams
- Working with light to medium weight materials
- Basic zipper installation
- Simple design modifications (add a loop, an extra pocket, etc.)
My first completely self-designed project was a pencil case for my wife. It wasn’t anything fancy—just a simple zippered pouch with her favorite colors—but the joy of creating something useful from scratch was incredibly satisfying.
Dog Leash (If Your Machine Can Handle It)
If your machine can handle slightly heavier materials (check your manual or look up your model online), a simple dog leash teaches:
- Working with webbing
- Heavy-duty straight stitching
- Hardware installation (clips, rings)
- Reinforcement techniques
I’ve made a couple of dog leashes now, and they’ve proven far more durable than commercial options. Plus, being able to choose your own webbing colors and hardware is a nice bonus. Just make sure your machine can handle the thickness—some domestic machines struggle with multiple layers of heavy webbing.
Other Attainable First Projects
- Stuff sacks for organizing gear
- Simple drawstring bag
- Hip belt pocket add-on
- Ultralight wallet
- Food bag for backpacking
- Water bottle holder
The key is choosing projects where:
- You’ll use the finished item (motivation!)
- Slight imperfections won’t ruin functionality
- You can complete it in 1-2 sessions (maintains momentum)
- It teaches skills you’ll need for bigger projects
Custom Gear for Specific Activities
As you gain confidence, you can start targeting projects for specific activities. For me, it’s all about creating custom bags and pouches for my portable radio activities. Off-the-shelf options just don’t have the right organization for:
- Radio equipment with specific dimensions
- Antenna components and cables
- Battery packs and power supplies
- Log books and reference materials
By making my own gear, I can design:
- Custom-sized pockets for exact equipment dimensions
- Specialized compartments for fragile components
- External attachment points for antennas
- Quick-access areas for frequently used items
Whatever your passion—photography, hiking, cycling, climbing—MYOG allows you to create gear specifically optimized for your unique needs and preferences.
The Secret to MYOG Success: Just Start Sewing
Here’s the tough love section: at some point, you have to stop preparing and start doing.
I spent weeks researching my first “real” project. I watched videos, read tutorials, and mapped out every step… and still made a dozen mistakes when I finally started sewing.
Some lessons can only be learned by doing, and here’s the liberating truth: nobody has to know how many times you used your seam ripper.
Every experienced MYOG creator has a graveyard of failed projects and “learning experiences.” My first few projects looked handmade in the worst ways, but:
- They worked
- I learned critical lessons
- Each subsequent project got better
Embracing the Learning Curve
Some practical advice for when you finally take the plunge:
- Give yourself twice as much time as you think you’ll need
- Expect to redo certain sections
- Remember that most mistakes are fixable
- Take breaks when frustration builds
- Join MYOG communities online for support when stuck
When I got stuck on an early project, the MYOG community on Reddit talked me through a particularly tricky zipper installation. Their encouragement kept me from abandoning the project entirely.
The Joy of Creating
Despite the inevitable challenges, there’s something deeply satisfying about using gear you made yourself. Every time I see my family using the pouches I made them, or when I pack my radio gear into a custom-designed bag, I feel a pride that store-bought gear just doesn’t provide.
Plus, there’s the practical advantage of having gear precisely tailored to your needs:
- Pockets exactly where you want them
- Colors and materials you choose
- Features the big manufacturers don’t offer
- Repairs you can do yourself
- Bragging rights on the trail or at the radio field day
Your Turn to Create
If you’ve read this far, you’re already ahead of where I was when I started my MYOG journey. You have a roadmap, resources, and (hopefully) the confidence to begin.
Start small, be patient with yourself, and remember that every wobbly seam is teaching you something valuable. MYOG isn’t just about saving money or getting custom gear (though those are nice perks)—it’s about the satisfaction of creating something functional with your own hands.
I’d love to see what you make! Tag me on X (@PrintPressSew) or Instagram (@PrintPressSew) to share your creations, questions, or even spectacular failures. We all start somewhere, and the MYOG community is genuinely one of the most supportive I’ve found.
Now go thread that machine and make something awesome. Your future handmade gear collection starts with a single stitch!
Resources to Get You Started
Online Communities
- r/myog on Reddit
- Facebook MYOG groups
- Instagram #myog hashtag
Materials Suppliers
Pattern Sources
Remember, the first step is always the hardest, but that bobbin isn’t going to thread itself. Happy sewing!


