Why Strong MYOG Sewing Techniques Matter in Durable Builds
When you’re making your own gear, you’re not just sewing for looks — you’re sewing for performance.
Whether you’re attaching webbing to a bag, reinforcing a handle, or trying to keep your seams from unraveling on the trail, strong stitches matter. These techniques are the foundation of durable MYOG builds that can handle real-world wear and tear — especially when using heavy fabrics and webbing. If you’re just getting started, you might also want to check out 10 common sewing mistakes and how to avoid them — because strong techniques and smart habits go hand in hand.
1. Backstitching: Lock Your Seams In Place
Backstitching is simple, but absolutely essential. It means reversing your stitch direction at the beginning and end of every seam to keep it from unraveling.
Use 3–4 short backstitches at the start and end of your seam — more than that can create bulk.
You’ll use this on every project, especially anywhere the seam will be under tension or abrasion.
2. Box-X Stitch: The Workhorse for Straps
This is the classic “square with an X” inside it — and it’s how straps stay attached when your bag’s fully loaded.
Use it when attaching handles, webbing loops, or anything that needs to carry weight. Want to see a box-X in action? It’s a key part of securing the handle in this dog leash tutorial.
Tip: Mark your box and X with a chalk pencil first for a clean look.
3. Bar Tack: Reinforcement in Tight Spaces
Think of a bar tack as a compact, super-dense zig-zag stitch. It’s the go-to method for reinforcing short seams or corners where a full box-X won’t fit.
Perfect for:
- Ends of webbing
- Zipper stops
- Pocket corners
On a machine with zig-zag stitches, set it to short length and medium width for a tight bar tack effect.
4. Edge Stitching and Topstitching Heavy Fabric
These make your seams stronger and cleaner.
- Edge stitch ~1/8″ from the edge of a seam to keep it flat
- Topstitch slightly further in (1/4″) to secure multiple layers or add structure
Use a longer stitch length (3.0–3.5 mm) for a professional look.
Great for:
- Strap edges
- Pouch openings
- Keeping layers from shifting
5. Zig-Zag Stitches for Stretch and Security
Zig-zag isn’t just for stretchy fabrics. It’s also great for:
- Securing raw edges on non-fraying fabrics
- Reinforcing seams under tension
- Adding flexibility where needed
Adjust stitch width and length depending on your fabric and purpose — wide + short for bar tack; narrow + long for stretch seams.
6. Optional: French Seams and Grosgrain Binding for a Clean Interior
Not every MYOG project needs French seams, but when you want a tidy finish without exposed raw edges, they’re a great option. Alternatively, grosgrain ribbon or seam binding can be sewn over the inside seam to add durability and a clean finish — especially useful in structured bags where French seams may add too much bulk.
Best for:
- Lightweight liners
- Simple drawstring pouches
- Reinforcing interior seams in structured gear
- Projects where you want fewer exposed or fraying edges
When to Use What
| Situation | Best Stitch Type |
|---|---|
| Attaching a strap to a bag | Box-X or Bar Tack |
| Starting or ending a seam | Backstitch |
| Binding a pouch edge | Edge Stitch or Zig-Zag |
| Decorative or structural finishing | Topstitch |
| Reinforcing short webbing points | Bar Tack |
Sewing Practice Tips for Beginners — Then Sew with Confidence
Even with the right stitch, different materials behave differently.
To practice effectively, it’s essential to start with the right machine. If you’re still deciding or upgrading your sewing gear, check out my guide to choosing your first sewing machine. It covers what to look for, from beginner-friendly options to machines ready for heavier MYOG projects.
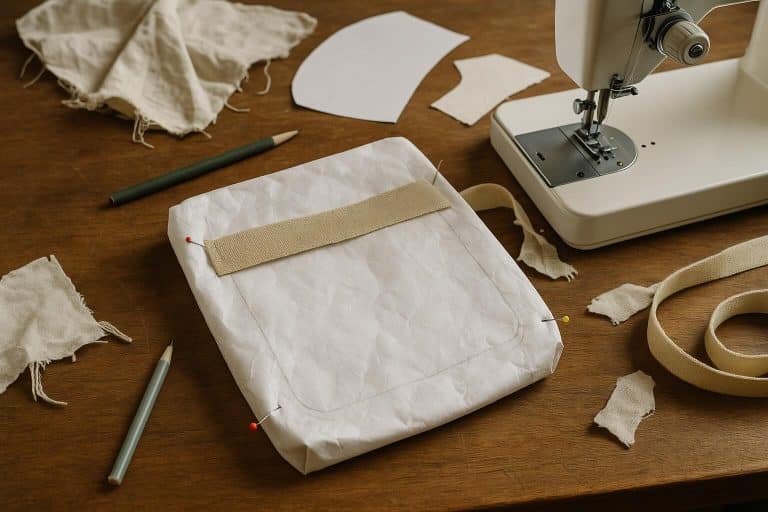
Create a small scrap setup with layers of fabric and webbing, and stitch it as if you were attaching a strap or building a pouch. Try different techniques like bar tacks or edge stitching on real material types to see how they respond. Cordura, X-Pac, webbing — they all need a test run.
Practice box-X and bar tack stitches on scrap fabric or webbing before sewing the real thing.
You’ll build both muscle memory and confidence — and your seams will show it. Practicing on curves, corners, and stacked layers also helps you anticipate tricky areas in real builds.
Wrap-Up: Stitch Smarter, Build Stronger
These MYOG sewing techniques are the backbone of durable, trustworthy sewing. Whether you’re making a pouch, leash, or field pack, strong seams help you trust your gear — and yourself. Pair these sewing techniques with smart project planning using this guide to sketching and measuring your MYOG projects.
Tag @printpresssew and share your stitches with #MYOGJourney — I’d love to see your work in progress or answer questions about sewing techniques that matter most in the field.


